Import / Export Wizard
Last updated
Was this helpful?
Last updated
Was this helpful?
In aqua, you have the option to import and export aqua items from and into Excel and CSV documents. You should use an aqua Administrator in order to have the full rights on the project, requirements, test cases, test scenarios, and defects.
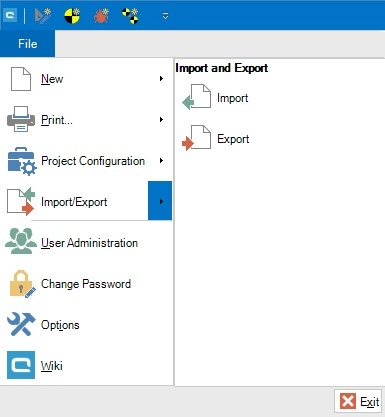
In order to export your aqua project items (requirements, test cases, test scenarios and defects) to an Excel or CSV document, you have to open aqua and be an aqua Administrator with full rights. Select your project and click on Export.
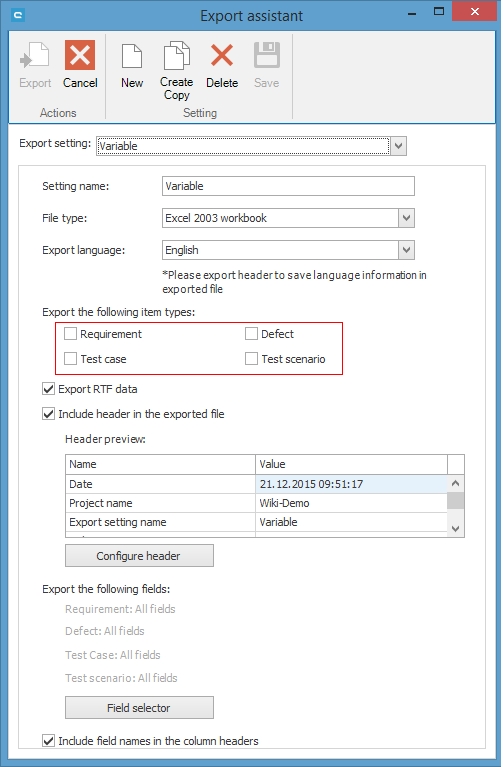
A new dialogue appears, where you can select which items should be executed.
In Export Settings, you can select existing pre-configured export settings. The setting name defines the name of the setting in case you want to reuse it. In File type, you can select Excel 2003 or CSV, which are now supported.
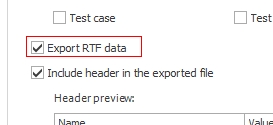
The next step is to select the export language, which defines the language of the exported file. Now you can define which element types should be exported. You must enable them to export them. For example, if you want to export all information stored in Word files, check the Export RTF data box. Otherwise, all fields will be exported as plain text fields. The Export Header contains optional export information and can also be used to automatically detect language information when importing the file.
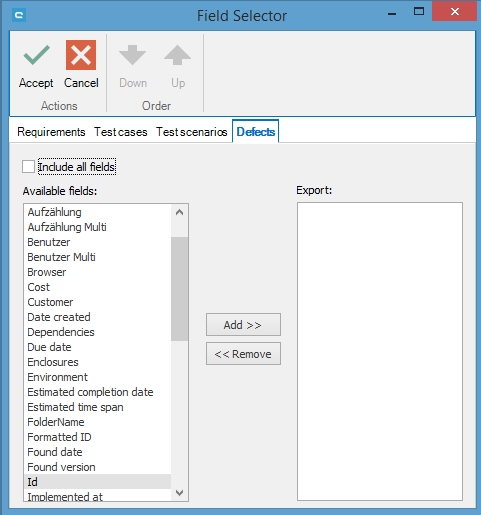
If you activated some item types, you can define which fields should be exported by clicking on Field Selector.
To include all fields in the export, check Include all fields or else specify individual fields in Available fields by clicking on Add.
Click on Export to start exporting your aqua project into a file.
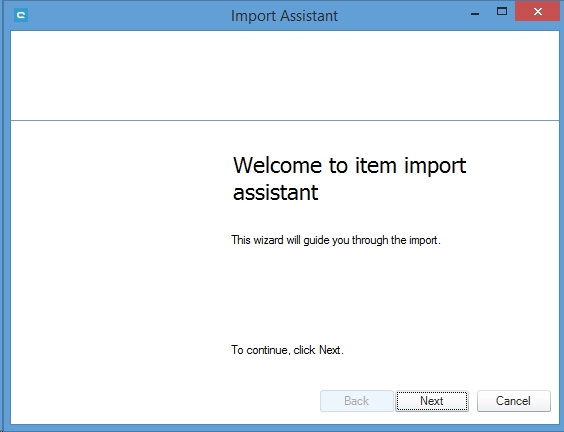
For beginners, working with the Import Assistant can sometimes prove difficult. Find out if your existing mapping works for your business before importing all data. Start the Import Assistant and click on Next.
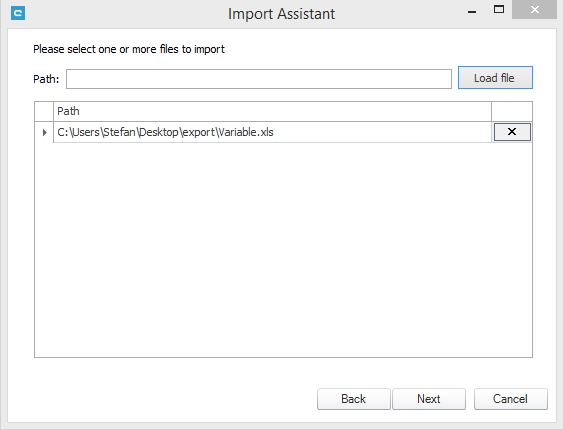
Select a file for import, this can be an Excel or CSV Document, and click on Next.
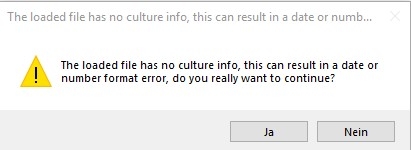
If the file does not contain a header with language information (these can be added to the export by checking the box "Include header in the exported file"), a message will be displayed that the file does not contain any culture info and ask you whether you want to continue anyway. Here, you simply click on Yes.
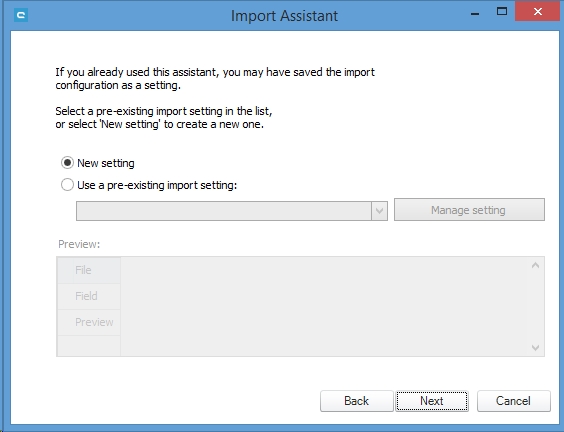
In the next window, you can create a new setting or select an existing import setting which was previously saved during an export. In this example, we are creating a New setting.
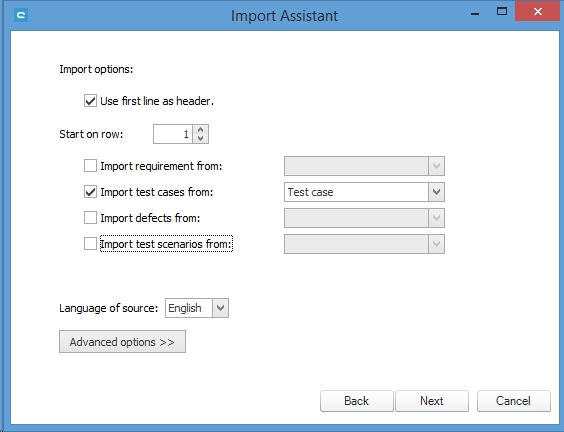
Define which items you want to import. In our example, we will merely import test cases.
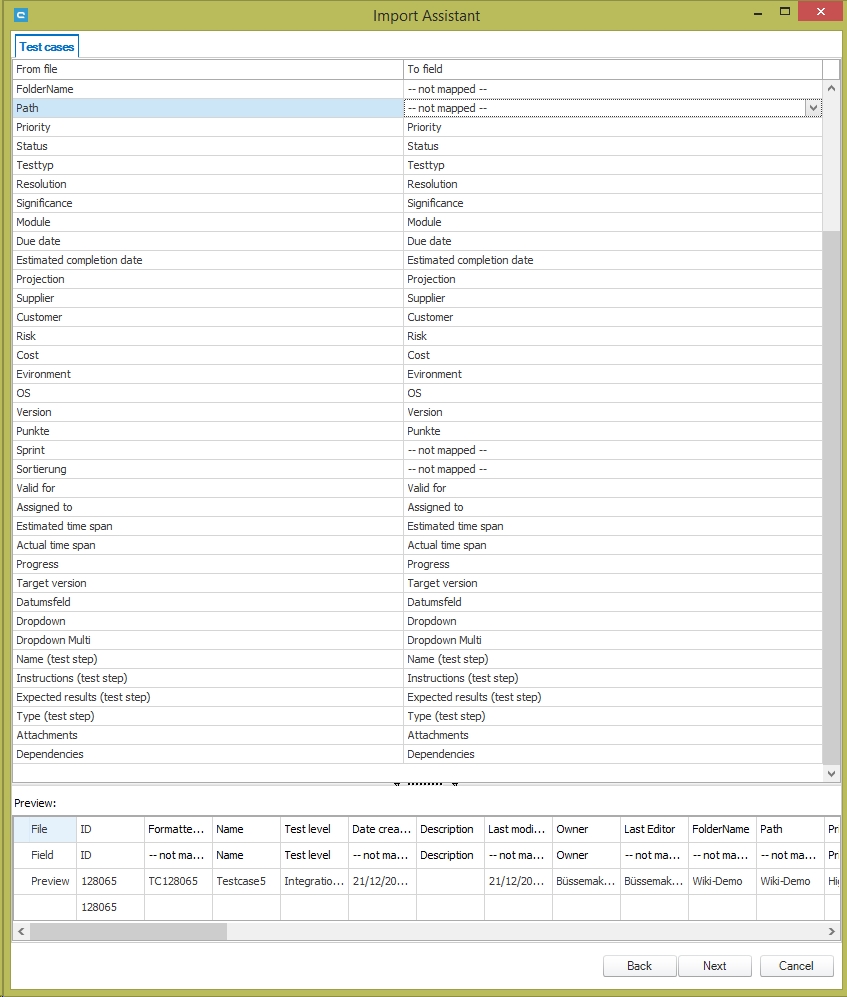
If there is no header with language information in the file, select a language and click Next. If the header with language information is present, the language is automatically selected. In this case, however, you must also select the 4th row under "Start on row" so that it starts after the header. In the next window, there are options to map your data in a source file with the configuration of an aqua project.
To specify your test steps in Test cases, import Name (test step), Instructions (test step), and Expected result (test step).
To organize multiple steps in one test case, optimize your test steps as in the following example:
ID
Name
Name (test step)
Instructions (test step)
Expected results (test step)
Type (test step)
128065
Testcase1
First Step
Do
Condition
128065
Second Step
Do it
Check it
Step
128066
Testcase2
First Step
Do
Condition
128066
Second Step
Do it
Check it
Step
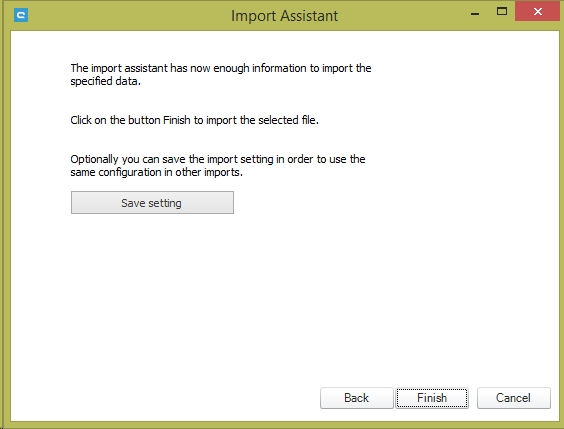
The test case ID with all its column information is unique. The additional steps are listed with the same ID in the subsequent rows. Following successful mapping, click on Next. The export settings can be saved here.
Click on Finish to start the import. All your files are imported to the selected project.
Once everything is configured, you can click on the Save button to save the configuration.
