Adding Test Case in the given Test Scneario
Adding Test Case in the given Test Scneario
Selecting Test Cases to be added in the Test Scenario
Test Scenario with the Test Cases
Copying the Test Case from the Element's grid
Adding the Test Cases form the clipboard to the Test Scenario
Adding the Test Case to the Test Scenario via contex menu
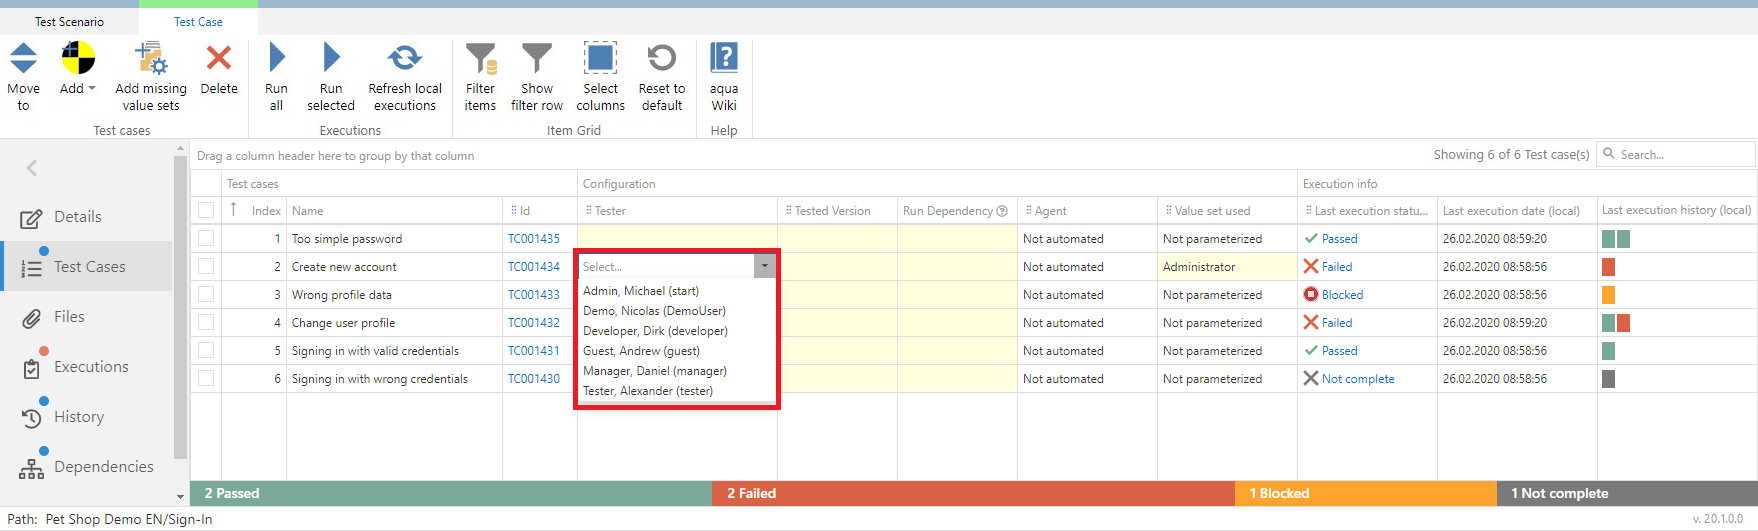
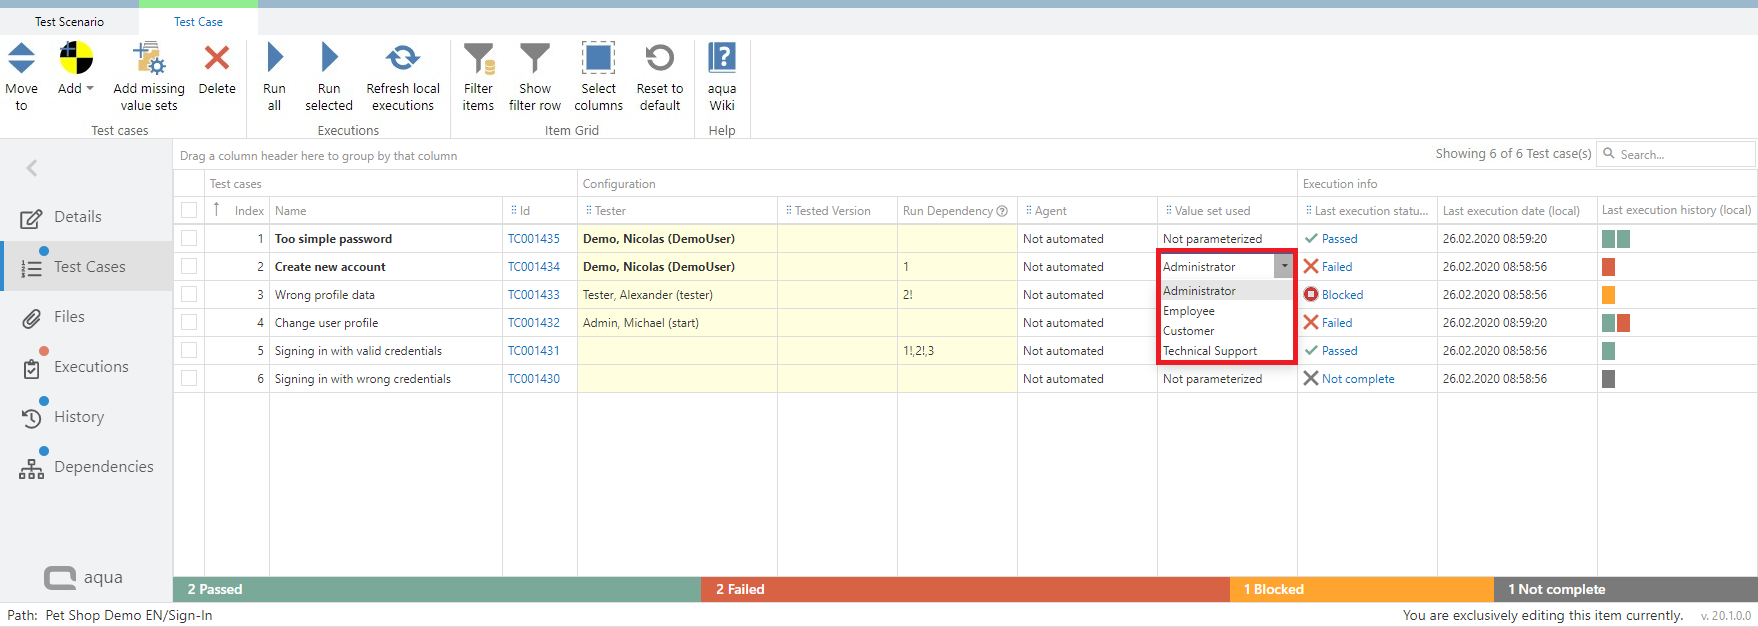
Setting the tester for each execution

Addind run dependency
Setting soft and hard dependencies