SoapUI
First, you go into a test case and click onto Automation. Here, you can add a SoapUI Script:
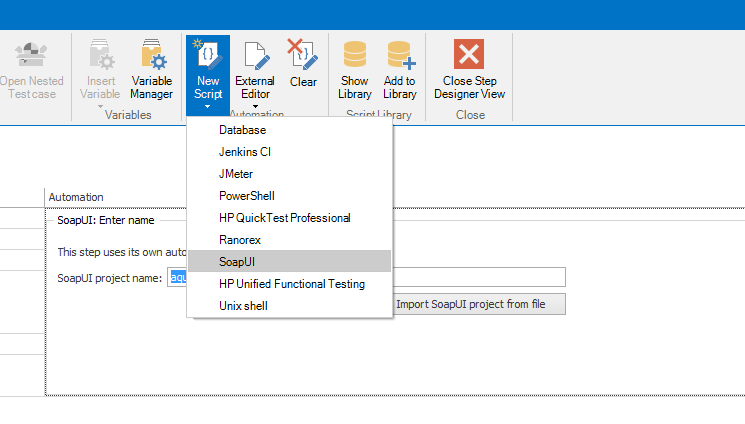
A new template is created which can be opened using the External Editor or replaced by a SoapUI project file.
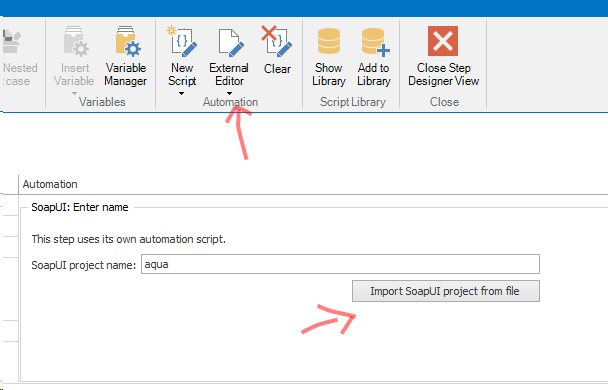
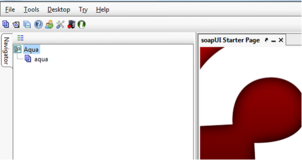
By clicking on External Editor a blank project will be opened in SoupUI. Test cases can be recorded and edited here.
To run an automated test, the test case must be executed in the same way as the manual tests. Open the test case and click on the Run button.
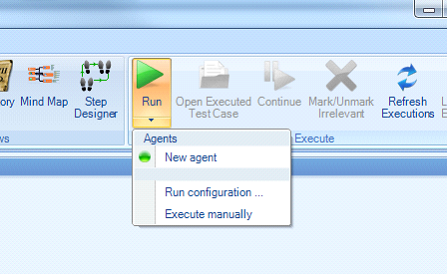
Following the run of an automated test, you can see if the test was successfully completed. In addition, you receive more information from SoapUI in the execution log by clicking on the appropriate buttons.

Parametrization
aqua offers you the option to define parameters and to transmit them to SoapUI. To do this, define a set of values in the Variable Manager of the test case.
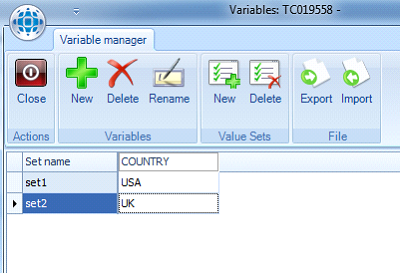
When executing this test case, a set of values valid for this version can be selected. The execution log with the selected record can be seen later.
To ensure that the values are used in SoapUI, properties must be created at top level SoapUI project. These properties must have the same identifier as the variables of the aqua-value-set.
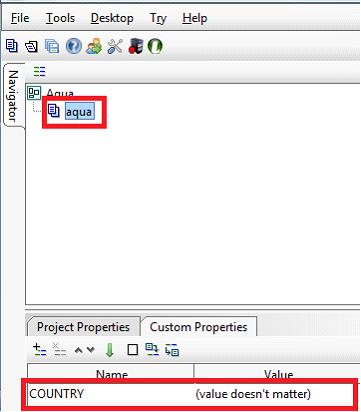
If you run the test case, these properties will be overwritten by the aqua-agent and the values will be recorded in the log.
Configure Agent
To configure and start the SoapUI Agent, extract the AquaSoapUIAgent-*.zip.
Here, open agent.properties and insert the agentCode and aquaServiceURL:
Then, open the file agent.bat using the editor and edit the line
with your current version. Your agent can now be started with starting agent.bat
Last updated
Was this helpful?