# Connection to Oracle Database 12.2c
Before you start, you have to install Java on your local server in order to create a connection to the Database later on. You will find a recent Java JRE here: [http://www.oracle.com/technetwork/java/javase/downloads/index.html](https://www.oracle.com/java/technologies/downloads/?er=221886)
After that, install your Oracle Database.
When downloaded, please start the installer program. Press Next, read the licence agreement and accept that. Press Next again, choose the default path for installation, and press Next. Now enter SYS Password, click Next and finish the setup by clicking Install.
### **Setting up a new database**
Open SQL Developer. You can download it here: [http://www.oracle.com/technetwork/developer-tools/sql-developer/downloads/index.html](https://docs.oracle.com/en/database/oracle/sql-developer/19.2/)
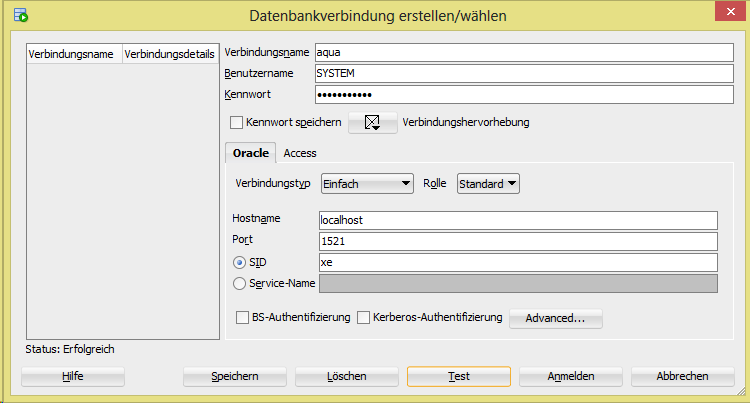
Create a new connection and enter the following names:
Username: SYSTEM
Password: Your SYS Password
Hostname: localhost
SID: xe
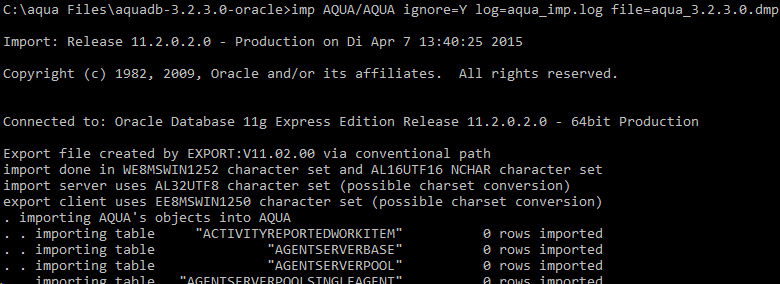
Click on login, open file **CreateDatabase.sql** and execute the script. After that, open a Windows Command Prompt and 'cd' into the folder, where aqua dump file is located. In this location enter the following command: imp AQUA/AQUA ignore=Y log=aqua\_imp.log file=aqua\_3.2.3.0.dmp
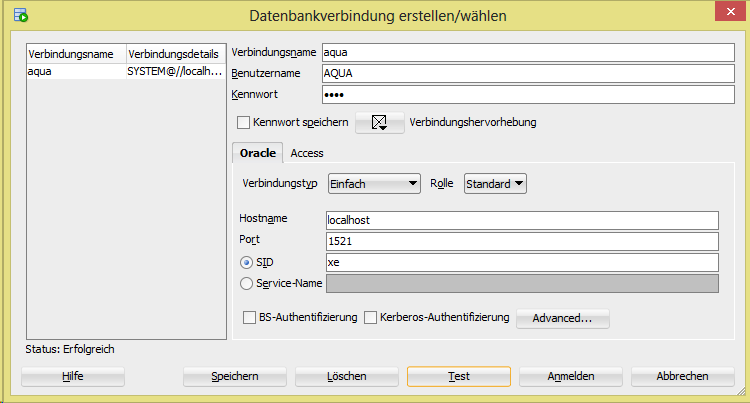
The next step is to create a new connection in your Oracle SQL Developer.
Finally, we have to configure our license file in database. For that we open our license file with a text editor (e.g. Notepad), copy value of tag **CustomerAccount**, paste it into our query and apply it to the database.
`UPDATE CUSTOMER SET ACCOUNT = '`**`CustomerAccount`**`'`
Your aqua Database is now installed.
### **Configuring Database Connection**
In the following steps, we connect your aqua system to the database. First, we replace the **`hibernate.cfg.xml`** into `C:\Programm Files\andagon GmbH\aqua for IIS\Web\Webservice\bin.`
After that, we open the Web.config in folder `C:\Programm Files\andagon GmbH\aqua` for `IIS\Web\Webservice`.
Replace row
```q
```
with:
{% code overflow="wrap" %}
```q
```
{% endcode %}
Replace
```q
$HOST,$PORT,$SID,$USER and $PASSWORD
```
with your data
{% code overflow="wrap" %}
```q
```
{% endcode %}
\
After that, we configure our Oracle Version. For that we open folder `C:\app\Administrator\product\11.2.0\client_1\ODP.NET\bin\2.x`, open file `Ora-ProvCfg` and identify the version. This version has to be inserted into the Web.config file.
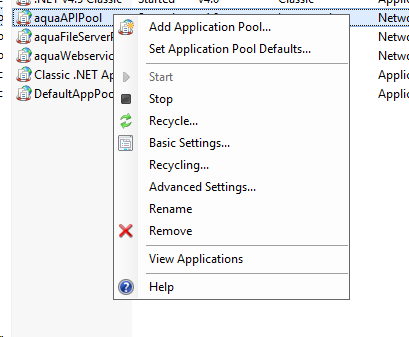
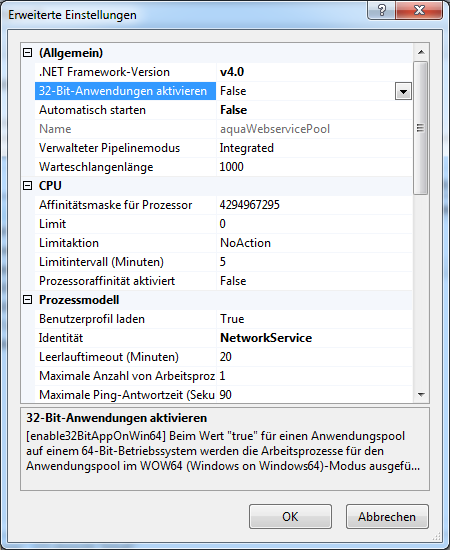
Now we have to disable 32-Bit Applications in IIS. For that we open the IIS, open context-menu on **`aquaAPIPool`** and select **`Set Application Pool Defaults`**. Here we set **`Enable 32-Bit Applications`** on **`False`**.
### **Installing ODP driver**
aqua requires an ODP.NET driver to successfully connect to an Oracle database. This driver can be retrieved from [http://www.oracle.com/technetwork/database/windows/downloads/index-090165.html](https://www.oracle.com/database/technologies/odac-downloads.html).
{% hint style="warning" %}
Be careful: download the right version (e.g. ODAC121024Xcopy\_x64.zip)!
{% endhint %}
Extract the downloaded files, open a command prompt, change directory to the extraction target and execute the following command:
```batch
install.bat odp.net2 c:\odac odac
```
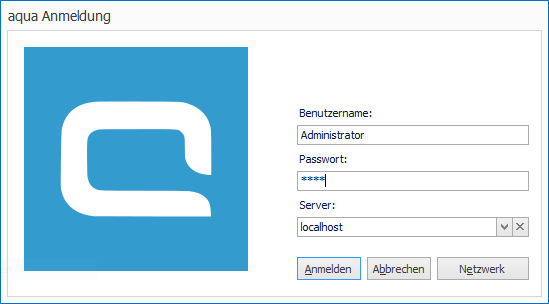
Finally, you can install your aqua client by installing aqua.msi and start the client. The default login data is as follows:
Username: Administrator
Password: default
Server: localhost
Your aqua system should be ready to use!
---
# Agent Instructions: Querying This Documentation
If you need additional information that is not directly available in this page, you can query the documentation dynamically by asking a question.
Perform an HTTP GET request on the current page URL with the `ask` query parameter:
```
GET https://docs.aqua-cloud.io/documentation/installation-for-on-premise/connection-to-oracle-database-12.2c.md?ask=
```
The question should be specific, self-contained, and written in natural language.
The response will contain a direct answer to the question and relevant excerpts and sources from the documentation.
Use this mechanism when the answer is not explicitly present in the current page, you need clarification or additional context, or you want to retrieve related documentation sections.