Creating and Editing Items
Last updated
Was this helpful?
Last updated
Was this helpful?
New items, such as requirements, test cases, test scenarios or defects can be easily created using the New button in the upper left corner of the ribbon in the navigation module. The item is created in the currently selected folder in the Project Browser. You can either select the type of item you want to create from the drop-down list, or simply click New to create a new item of the same type from the tab in the Item Browser you are currently in.
The new item is then opened in a new tab and can be edited and saved there.
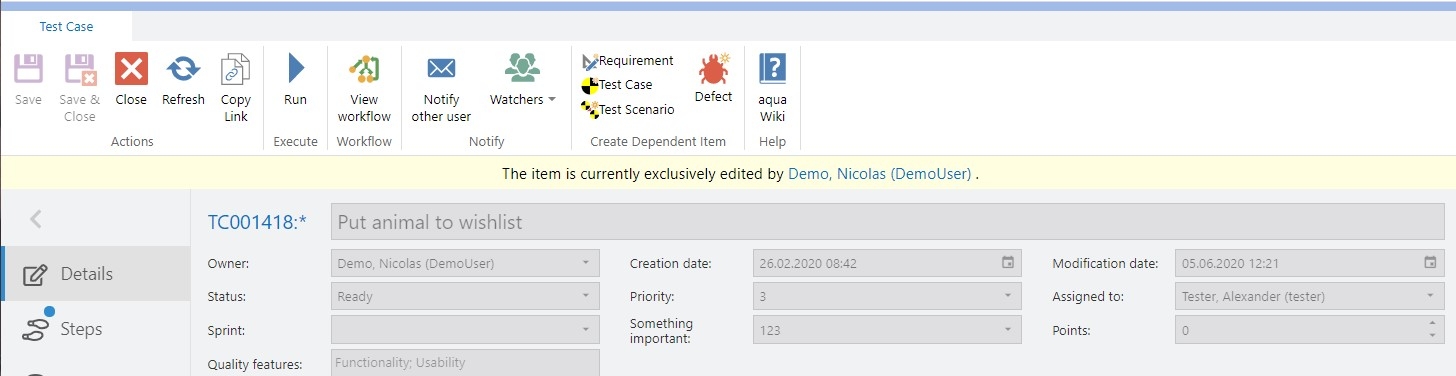
The following areas are included in all items:
Ribbon Bar
Details
Description
Navigation bar
Path
The ribbon bar gives you quick access to various actions and functions for the opened item. Any changes you make will not be sent to the aqua server until you save them. As long as no changes are made, the Save and Save & Close buttons are inactive. Alternatively, you can use the familiar Ctrl+s or Ctrl+shift+s shortcuts to save or save and close your changes at any time.
The Copy Link button copies a link to the selected item to the clipboard, allowing it to be sent, for example by email.
Print allows you to print all the information about the item, such as details, description, attachments, dependencies or even the history.
The Workflow Preview shows you the configured workflow, if one exists. The workflow shows which states are available and which transitions are allowed. The workflow itself is activated and configured in the Workflow Configuration.
In the Notification area, you can pass the information about the open item directly to other users, or add yourself as a watcher to track any changes made to the item.
In the Create Dependent Item area, you can create other items with dependencies to this item. The 'Test it!' button allows you to directly execute linked test cases for requirements and defects.
Under Help, you will find a link to the aqua wiki, which will automatically take you to the relevant chapter for the selected item.
Details allow you to enter basic information about the item, such as its name, status or priority. The fields displayed are fully configurable for each item type in the Template Configuration of a project. For example, field names can be changed, they can be removed/added, default values and allowed value ranges can be defined, and custom fields and their values can be added.
The following field types are available:
Selection fields,
Multiple selection fields,
User fields,
User multiple selection fields,
Date fields,
Number fields,
Text fields.
Text fields also allow you to add a link to a web page that can be opened directly from within the field. To do this, you must use the correct formatting, i.e. the link must start with 'http(s)://'.
Mandatory fields are marked with an asterisk and must be filled in to save the item. These mandatory fields are defined in the workflow configuration. The name will always be a required field. Some fields are also filled in automatically, such as the creator or creation date. Each item is automatically given a unique ID (across all projects) after creation, starting with RQ (Requirement), TC (Testcase), TS (Testscenario) or DF (Defect).
When you create a new item, you can also define a template that will be used when you create other items of the same type.
Once you edit an item, it is locked for other users. Users can still open the item, but cannot edit it. Once the item has been saved and closed, it can be edited again by other users. To simplify the workflow, the user who locked the item can be contacted directly from within aqua.
The description allows you to specify and format the content of an item. You can create formatted text, hyperlinks, tables and graphics, as well as copy and paste content from other documents (*.doc, docx, rft, txt). When you click in the description field, the editor appears at the bottom of the description field.
In the navigation bar on the left, you will find the Details, Files, History and Dependencies sections for all item types. In Requirements, Test Cases and Test Scenarios and Defects you will also find the Discussions area. Depending on the item type, additional areas may be available, see also Requirements Management, Test Management, Test Scenarios and Defect Management.
At the bottom of the opened item, you will find the path where the item is located, as well as the aqua version. You can also move the item to a different folder by clicking the edit icon, selecting the folder you want to move it to, and selecting the check mark in the top right corner.
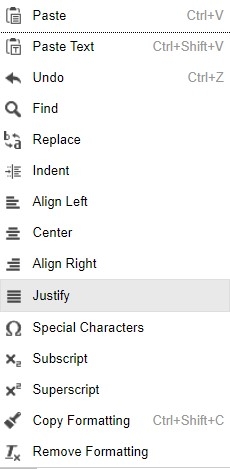
Here you can format the text and insert pictures and screenshots using the picture symbol , insert link using the link symbol or insert tables using the tables symbol . In the table properties, you can easily edit the number of the rows and columns.
Screenshots can also be easily copied and pasted from the clipboard. You can also take a screenshot directly by using the screenshot icon , edit it in aqua and paste it into the description. Use the three dots on the right of the editor to access additional formatting: